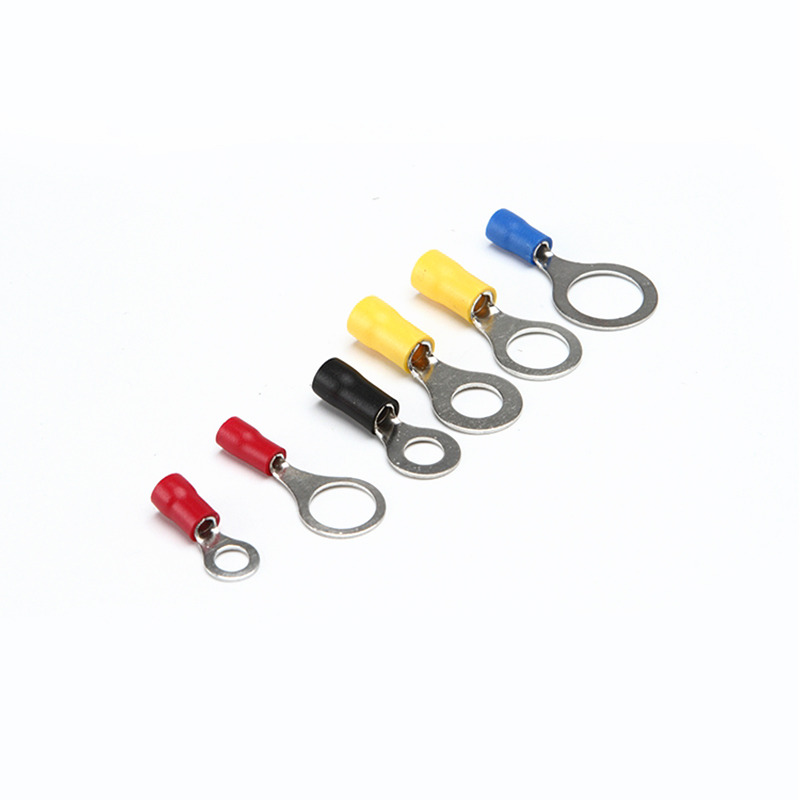
In any electrical system—be it a high-voltage industrial array, a marine engine, or a custom automotive build—the ring terminal is the final point of contact between the power source and the load. While these connectors are designed for permanence and security, they are not “set it and forget it” components. Over time, vibration, thermal cycling, and environmental corrosion can degrade even the most professional installation. A single compromised ring terminal can lead to intermittent power loss, equipment damage, or, in the worst-case scenario, an electrical fire.
At Envi Electric, we believe that safety is built on a foundation of high-quality hardware and rigorous testing protocols. Providing premium electrical connectors is only half the battle; ensuring they are installed and maintained correctly is what keeps systems running for decades. This guide provides a deep dive into professional methods for testing and troubleshooting ring terminal connections to ensure your electrical infrastructure remains robust and safe.
Before breaking out specialized diagnostic tools, a thorough visual inspection is your most cost-effective safety measure. Many electrical failures give off warning signs long before a total system shutdown occurs. You are looking for anomalies in the insulation, the metal surfaces, and the mounting hardware.
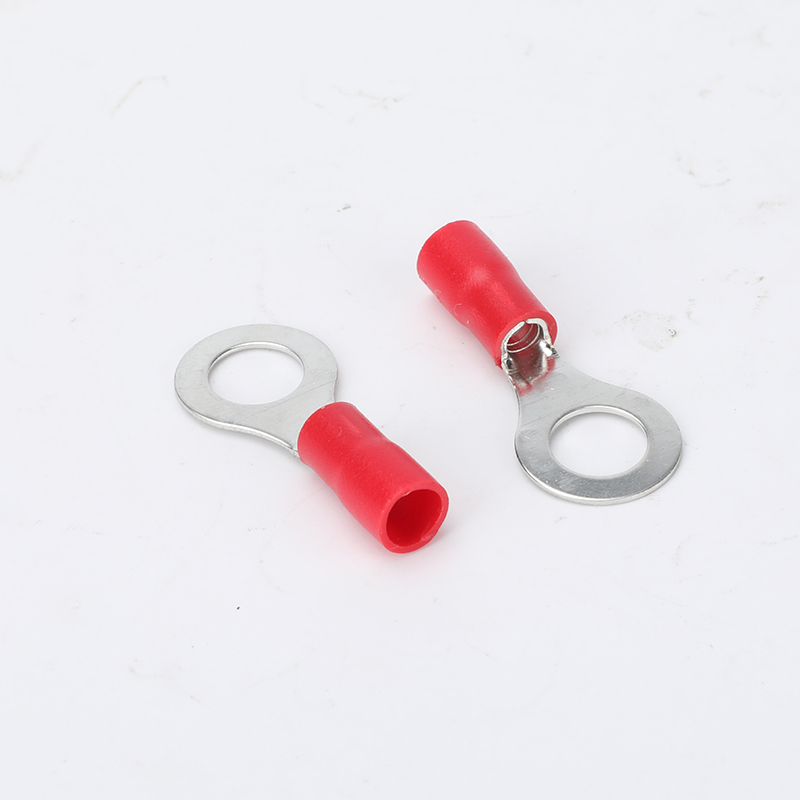
When inspecting a ring terminal, focus on the “Cold Weld.” A proper crimp should look like the wire and the terminal have become a single piece of metal. If you see gaps between the strands and the barrel, or if the barrel looks deformed rather than compressed, the connection is already suspect. Furthermore, look at the insulation surrounding the crimp. If it appears charred, discolored, or brittle, it is a definitive sign of excessive heat caused by high resistance.
Table 1: Visual Troubleshooting Indicators
| Symptom | Probable Root Cause | Potential Risk | Corrective Action |
| Blue/Green Powder | Galvanic Corrosion / Moisture | High Resistance / Signal Loss | Clean or replace with tinned copper |
| Melted Insulation | High Resistance or Overload | Fire Hazard / Short Circuit | Resize terminal or check current draw |
| Exposed Strands | Improper Stripping or Strain | Short Circuit / Wire Fatigue | Re-terminate with proper strain relief |
| Discolored Metal | Oxidation due to Overheating | Power Fluctuation | Replace terminal and check torque |
The table above categorizes common visual cues that every technician should recognize. For instance, the appearance of blue or green powder (oxidation) is particularly common in marine environments. This oxidation acts as an insulator, forcing electricity to jump through a layer of “rust,” which generates heat. If you find melted insulation, it is critical not to just replace the terminal but to investigate why it got hot. At Envi Electric, we supply tinned copper terminals specifically to prevent the oxidation listed in the table, ensuring a cleaner connection over the long term.
Brass RV Cold Pressed Termina 2
A ring terminal must be mechanically sound to be electrically efficient. If a terminal can move, even slightly, on the wire or the stud, it creates a variable resistance point. This is especially dangerous in high-vibration environments like off-road vehicles or industrial vibration tables.
The “Pull Test” is a standard industry practice. For smaller gauges (22-10 AWG), a firm manual tug is often enough to verify that the crimp has properly captured the wire strands. For larger battery lugs, a more formal tension test may be required. Beyond the crimp, you must verify the mounting hardware. A common troubleshooting error is over-tightening the nut on the stud. Over-tightening can “stretch” the bolt or crack the terminal tongue, leading to a loose connection as the metal fatigues.
Table 2: Recommended Mechanical Specifications
| Wire Gauge (AWG) | Pull-Out Force (Minimum Lbs) | Common Stud Torque (In-Lbs) | Tool Required |
| 18 – 14 AWG | 15 – 30 lbs | 10 – 15 In-Lbs | Manual Crimp / Small Wrench |
| 12 – 10 AWG | 60 – 80 lbs | 20 – 25 In-Lbs | Ratcheting Crimp / Torque Wrench |
| 4 AWG | 160 lbs | 50 – 70 In-Lbs | Hydraulic Crimp / Torque Wrench |
| 1/0 AWG+ | 250+ lbs | 100+ In-Lbs | Hydraulic Crimp / Heavy Torque |
Following the specifications in Table 2 ensures that you aren’t just “guessing” at the security of your connection. Using a torque wrench on a ring terminal connection might seem like overkill for a DIY project, but in industrial settings, it is a requirement. If a nut is under-torqued, the surface area contact is reduced. If it is over-torqued, the threads can strip. At enviele.com, we recommend using lock washers or flanged nuts with our ring terminals to help maintain these torque settings in high-vibration applications.
Visual and mechanical tests only tell half the story. To truly verify a ring terminal’s safety, you must perform electrical diagnostics. The two primary tests are Continuity Testing and Voltage Drop Testing.
Continuity testing confirms that the circuit is complete, but it is often misleading. A single strand of copper can show “continuity” on a multimeter, but that single strand cannot carry a 30-amp load. Therefore, the Voltage Drop Test is the gold standard for troubleshooting. This test measures the voltage lost across a connection while the circuit is under a real load. If you measure more than a 0.1V to 0.2V drop across a single ring terminal connection, you have found a high-resistance failure point.
Table 3: Electrical Diagnostic Results
| Test Method | Healthy Reading | Failure Reading | Interpretation |
| Resistance (Ohms) | < 0.5 Ohms | > 2.0 Ohms | High resistance at the crimp or stud |
| Voltage Drop | < 0.1V | > 0.3V | Excessive heat being generated at joint |
| Continuity | Beep / 0.00 | No Beep / OL | Complete circuit break |
| Load Test | Consistent Voltage | Rapidly Dropping Voltage | Terminal cannot handle the current |
As defined in Table 3, the voltage drop is the most critical metric for safety. When electricity encounters resistance in a ring terminal, it follows Ohm’s Law: Voltage = Current x Resistance. That “lost” voltage is converted directly into heat. If you are troubleshooting a winch or an inverter that keeps shutting down, a voltage drop test will likely reveal that a ring terminal has oxidized or the crimp has loosened, causing the voltage to sag below the device’s operating threshold. Envi Electric connectors are designed with high-purity copper to keep these resistance values as low as possible.
For professionals managing large electrical panels or battery banks, thermal imaging has become an essential troubleshooting tool. Because high resistance generates heat, a failing ring terminal will literally “glow” in the infrared spectrum.
During a scheduled maintenance walk-through, an infrared (IR) camera can identify “hot spots” before they cause a failure. If one ring terminal in a series is 20 degrees hotter than the others, it indicates either a loose nut or a poor crimp. This allows for proactive repair during scheduled downtime rather than an emergency fix during a fire or system crash. Even a budget-friendly IR thermometer can be used to scan terminal blocks under load to ensure all connections are operating within their thermal limits.
If your tests reveal a fault, the “fix” is rarely just tightening a nut. If a connection has been running hot, the wire itself may have undergone “annealing,” where the copper becomes brittle and loses conductivity.
Isolate Power: Never troubleshoot or repair a live circuit.
Cut Back the Wire: If the wire shows signs of heat damage (black or charred strands), cut it back to where the copper is bright and shiny.
Clean the Mounting Surface: Use a wire brush or sandpaper to remove oxidation from the stud and the mounting plate.
Install a Premium Terminal: Use a high-quality, tinned copper terminal from enviele.com.
Crimp and Seal: Use the correct tool for the terminal type and, if possible, use heat-shrink tubing to prevent future moisture ingress.
Re-Verify: Perform the pull test and voltage drop test again to ensure the new connection is perfect.
From an expert’s perspective, the reliability of your electrical system is a reflection of the components you trust. At Envi Electric, we don’t just provide hardware; we provide the peace of mind that comes with knowing every terminal meets strict UL safety standards. Our commitment to using high-grade materials ensures that when you perform the tests mentioned above, our products consistently pass with flying colors. Whether you are an engineer or a weekend warrior, using professional-grade supplies from enviele.com reduces the time you spend troubleshooting and increases the time your systems spend running.
1. How often should I inspect my ring terminal connections?
For stationary home applications, an annual check is sufficient. For automotive, off-road, or marine applications, we recommend a visual and mechanical inspection every six months or after significant exposure to harsh conditions (like a deep-water crossing or a long road trip).
2. Can I reuse a ring terminal if I have to disconnect it?
If the ring (tongue) part is undamaged and free of corrosion, it can be re-bolted to a stud. However, you should never try to “re-crimp” a terminal or reuse a barrel that has already been compressed. Once a crimp is made, the metal is permanently deformed and must be replaced if the wire is removed.
3. What is the most common reason for a ring terminal failing a voltage drop test?
The most common reason is oxidation between the terminal and the stud, or a “cold joint” where the crimp wasn’t tight enough. Even a slightly loose nut can cause a massive voltage drop because it reduces the pressure required for efficient electron flow.
4. Is dielectric grease recommended for ring terminals?
Dielectric grease is an insulator, not a conductor. It should be applied after the connection is tightened to the stud to seal out moisture and air. Do not put it inside the crimp barrel or between the terminal and the mounting surface, as it can actually increase resistance if not squeezed out by high pressure.
5. Why does my multimeter show 12V but my device won’t turn on?
This is a classic symptom of a high-resistance ring terminal. A multimeter uses a tiny amount of current, which can pass through even a corroded connection. However, when your device tries to pull high current, the resistance causes the voltage to drop to near zero at the terminal. Perform a “voltage drop test under load” to find the culprit.
Testing and troubleshooting ring terminals is a vital skill for anyone working with electricity. By combining a keen visual eye with mechanical pull tests and precise electrical measurements like voltage drop, you can identify hazards before they escalate. Remember that a ring terminal is only as good as its installation and the environment it lives in. Regular maintenance and the use of high-quality, corrosion-resistant components are the keys to maximum safety.
Summary:
To ensure maximum safety, ring terminals must be tested visually for corrosion, mechanically for tightness, and electrically for voltage drops. High resistance at these points is the leading cause of electrical failure and fire. Using premium connectors from Envi Electric minimizes these risks.
Protect your system today!
Don’t wait for a failure to happen. Visit Envi Electric (enviele.com) to stock up on professional-grade ring terminals, high-quality crimping tools, and anti-corrosion accessories. Build it right, test it often, and stay safe with Envi Electric!
With extensive experience, excellent craftsmanship, and superior customer service, we meet various technical requirements to satisfy our customers and have gained widespread