A secure electrical connection is the foundation of any safe and reliable system, and the copper lug is a critical component in making that connection. However, even the highest quality lug is only as good as its installation. Choosing the wrong method—or executing it poorly—can lead to increased resistance, overheating, and ultimately, system failure. This guide provides a clear, comprehensive comparison of the three primary installation methods: Crimping, Soldering, and Bolting. By understanding the tools, processes, and ideal applications for each, you can ensure every termination in your project is robust, durable, and safe. At Enviele, we provide not only premium copper lugs but also the expertise to help you install them correctly.
Before comparing methods, it’s essential to understand why the termination point is so vulnerable. A loose or poorly made connection creates a point of high electrical resistance. According to Ohm’s Law, this resistance generates heat when current flows. Over time, this heat cycle can degrade the connection further, leading to oxidation (especially in copper), increased resistance, more heat, and eventually arcing or fire. A proper installation method creates a permanent, gas-tight connection that maximizes surface contact between the wire and the lug, minimizing resistance and preventing oxidation. The goal is to make the wire and lug function as a single, continuous conductor.

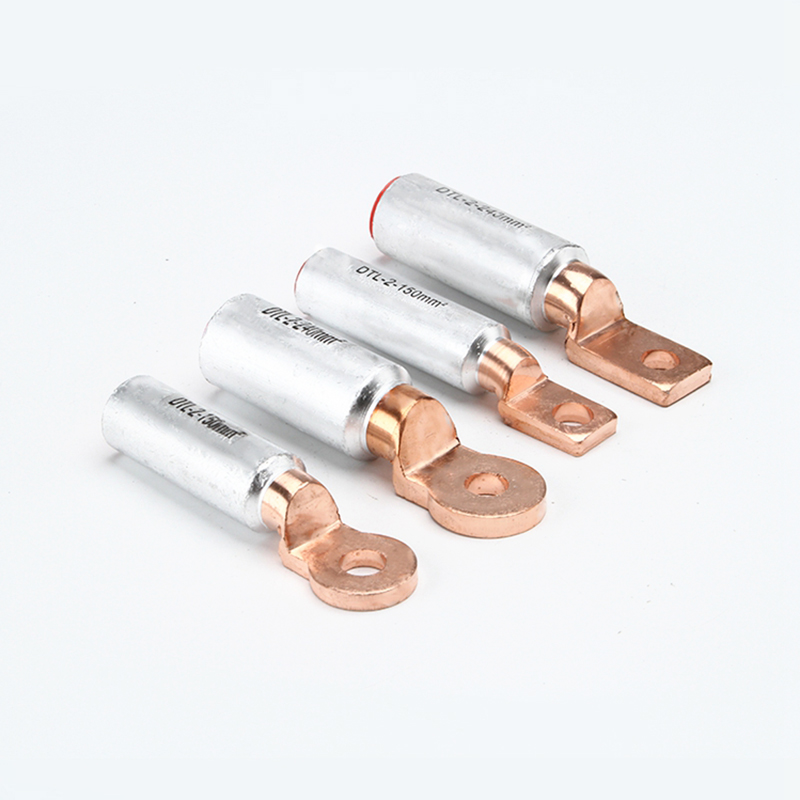
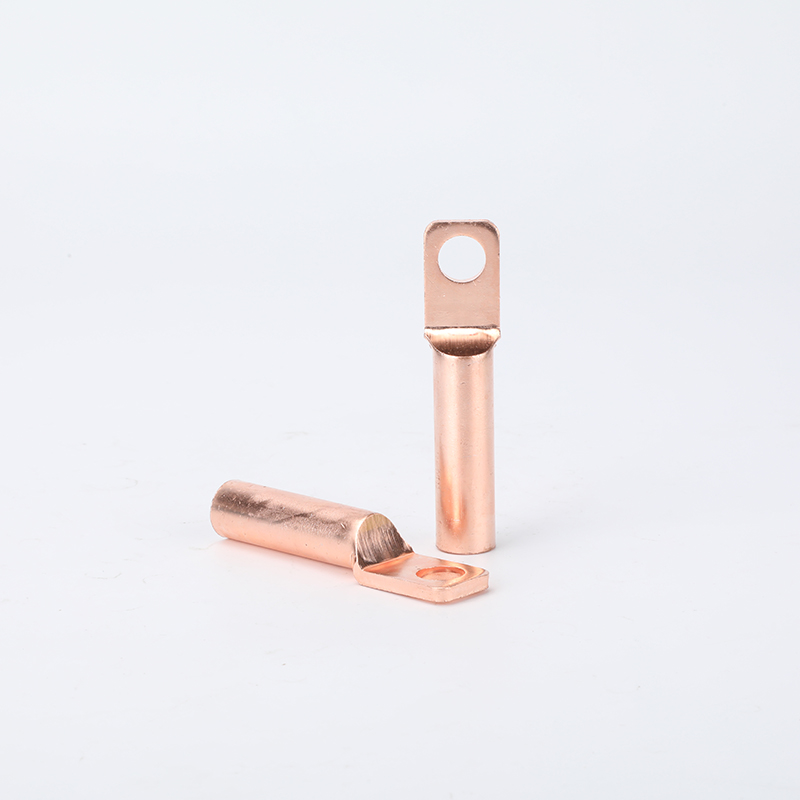
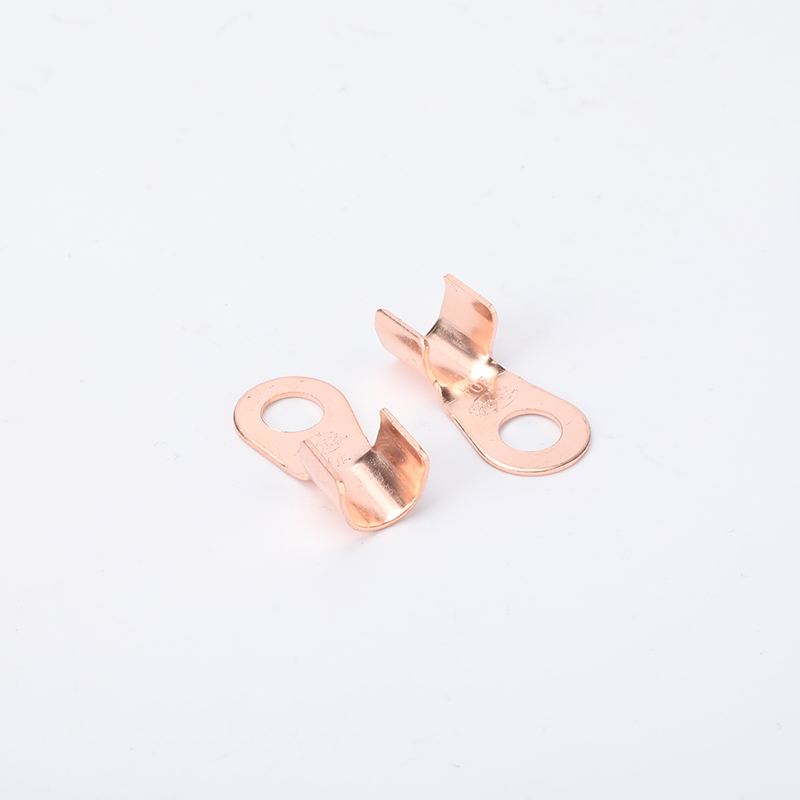
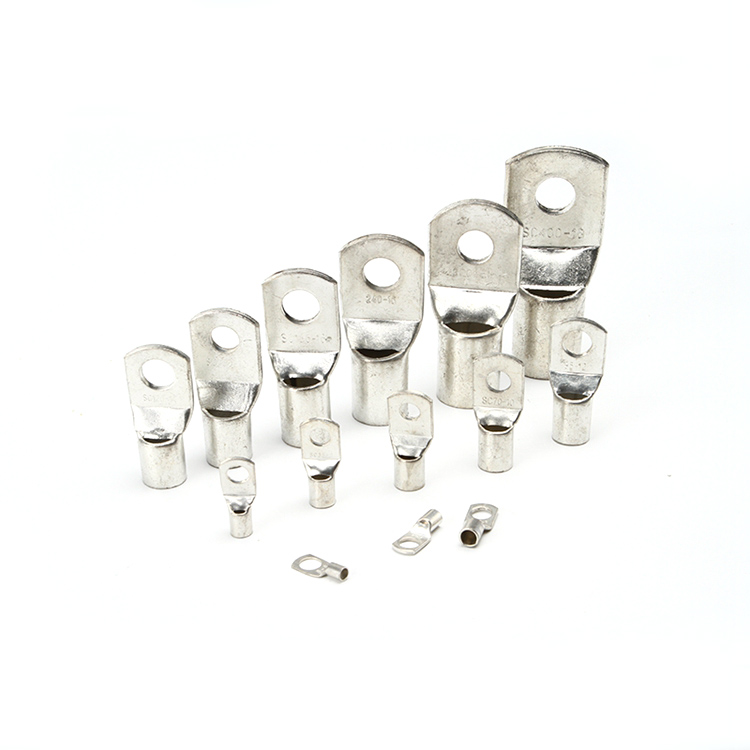
SC series Copper lugs 4
Crimping is the most widely used and recommended method for installing copper lugs in professional applications. It involves using a calibrated tool (a crimper) to physically deform the lug’s barrel around the stripped conductor, creating a cold weld. The process compresses the materials so tightly that air and moisture are excluded, preventing oxidation. The primary advantage of crimping is its consistency, speed, and reliability when performed with the correct tool. It requires no open flame or heat, is suitable for a wide range of wire sizes, and the connections are highly resistant to vibration and thermal cycling. Quality is ensured by using a tool die that matches the lug’s specified size (often color-coded).
Soldering involves using a filler metal (solder) with a lower melting point than the base metals (copper lug and wire) to create a fused, metallurgical bond. The process requires cleaning the surfaces, applying flux, heating the lug with a torch or large soldering iron until hot enough to melt the solder, which then flows into and around the wire strands. When done correctly, soldering creates an excellent electrical connection that fully encapsulates the strands, preventing moisture ingress. However, it is skill-intensive and time-consuming. Major drawbacks include the risk of cold solder joints (a weak, high-resistance connection from insufficient heat), potential heat damage to wire insulation, and the fact that the solder itself can creep under vibration, potentially leading to failure. It is less common in industrial settings today but is still used in electronics and some specialized applications.
Bolting, or using a mechanical clamp-style lug, involves securing the stripped wire end under a pressure plate or within a cavity using one or more bolts. The connection is made through mechanical force alone, without permanently deforming the lug or fusing the materials. This method is predominant for very large cables (e.g., in power distribution, renewable energy inverters, or battery banks) where crimping tools become impractically large and expensive. Its key advantage is modularity and adjustability; connections can be disassembled for maintenance or reconfiguration. The critical factor is achieving and maintaining the correct bolt torque to ensure sufficient contact pressure without damaging the conductor. These lugs often feature inspection holes to verify proper wire insertion.
The following table provides a direct comparison to help you quickly evaluate which method aligns with your project’s needs.
| Method | Core Principle & Tools | Best For / Applications | Key Advantages | Key Disadvantages |
|---|---|---|---|---|
| Crimping | Cold welding via compression. Tools:Manual, hydraulic, or pneumatic crimpers with matched dies. | Most professional & industrial wiring;control panels, automotive, aerospace, mid-size power cables. | Consistent, reliable, and fast. Vibration-resistant. Creates gas-tight seal. No heat applied to wire. | Requires an investment in proper, calibrated tooling. Not easily field-adjusted. |
| Soldering | Metallurgical bond with filler metal. Tools:Soldering iron, torch, flux, solder. | Electronics, small gauge wires, antique restoration, applications where wire must be potted. | Excellent conductivity when done perfectly. Fully seals out moisture. | Skill-dependent; risk of cold joints. Slow process. Heat can damage components. Solder can crack under vibration. |
| Bolting | Mechanical pressure via clamping force. Tools: Wrench/Torque wrench, screwdriver. | Large power conductors (e.g., 4/0 AWG and above), busbar connections, battery terminals, modular systems. | No special tooling for very large sizes. Adjustable and demountable. Visual inspection is easy. | Requires precise torque. Can loosen under vibration if not properly torqued/secured. Generally bulkier design. |
Follow this logical process to select the optimal installation method for your project:
Assess the Wire Size and Project Scale:
Small to Mid-Size Cables (up to ~250 MCM / 300mm²): Crimping is almost always the best choice for balance of speed, cost, and reliability.
Very Large Cables / Heavy Power: Bolting (mechanical lugs) is the standard and most practical solution.
Small Electronics & DIY Repairs: Soldering can be effective but requires skill; consider insulated crimp connectors as a more reliable alternative.
Evaluate the Operating Environment:
High Vibration (e.g., vehicles, machinery): Crimped or properly torqued bolted connections are superior. Avoid soldering.
Outdoor or Corrosive Environments: Crimping creates the best seal. For bolted connections, use antioxidant compound and stainless steel hardware.
Consider Your Tools, Skill, and Future Needs:
Do you have access to a calibrated crimper for the wire size? If not, bolted lugs may be more accessible.
Is this a permanent installation or one that might need future service? Bolted connections offer demountability.
For the vast majority of electrical installations, professional standards strongly recommend and often require properly executed crimping.
For Crimping: Always use a tool and die set matched to the specific lug manufacturer and size. Strip the wire to the exact length specified in the lug’s datasheet. Perform a pull test to verify crimp strength.
For Soldering: Use rosin-core flux designed for electrical work. Heat the lug, not the solder. The solder must flow into the joint via capillary action, creating a bright, shiny finish—not a dull, globby “cold joint.”
For Bolting: Always use a torque wrench to achieve the manufacturer’s specified torque value. Use a star (crisscross) pattern when tightening multiple bolts. Apply a light coat of antioxidant compound to the copper surfaces before assembly.
For reliable, code-compliant results, crimping is the preferred method for most cable sizes, offering unmatched consistency and durability. Soldering is a specialized skill best suited for small-scale electronics, while bolting is essential for large-scale power connections. Your choice should be guided by wire size, environment, and available tools. For a complete selection of application-matched copper lugs and professional installation tools, visit Enviele. Contact our support team for expert guidance to ensure your connections are perfect, safe, and built to last.
Q: Can I solder a lug and then also crimp it for extra security?
A: This is generally not recommended. The solder can wick up the wire, making it brittle, and it may prevent the crimp from achieving a proper cold weld. Choose one method and execute it correctly.
Q: Is it acceptable to use a hammer and punch to “crimp” a lug?
A: No. This creates an unreliable, incomplete connection and is not compliant with any professional or electrical code standard. Always use a proper, calibrated crimping tool.
Q: How often should I check the torque on bolted lug connections?
A: For critical connections, a re-torque check after the first 24-48 hours of operation (after thermal cycling) is recommended. Follow-up checks should be part of a regular preventative maintenance schedule, especially in high-vibration environments.
Q: What is the most common cause of crimp connection failure?
A: Using the wrong size or type of crimping tool/die for the lug. This results in under-crimping (loose connection) or over-crimping (which can crack the lug barrel).
Q: Why trust Enviele for lugs and installation advice?
A: Enviele supplies precisely engineered lugs that are compatible with standard professional tooling. Our technical data provides clear installation specifications, and our experts can guide you to the correct product and method for your specific project needs, ensuring safety and performance.
With extensive experience, excellent craftsmanship, and superior customer service, we meet various technical requirements to satisfy our customers and have gained widespread