Excessive heat in a copper terminal lug is a clear warning sign of a failing connection. If left unchecked, it can lead to energy loss, equipment damage, and serious safety hazards. This guide provides a practical, step-by-step approach to identifying the root cause of overheating and implementing effective fixes to ensure your electrical connections remain safe and reliable.
The most effective tool for troubleshooting heat is a thermal imaging camera. It allows you to scan energized equipment safely and identify hotspots without interrupting operations. However, accuracy is critical. Bare copper has a very low emissivity (0.03-0.05), which can cause the camera to read a temperature far lower than the actual value. To get a true reading, you must apply a high-emissivity target, like black electrical tape or a purpose-made sticker, to the lug before scanning.
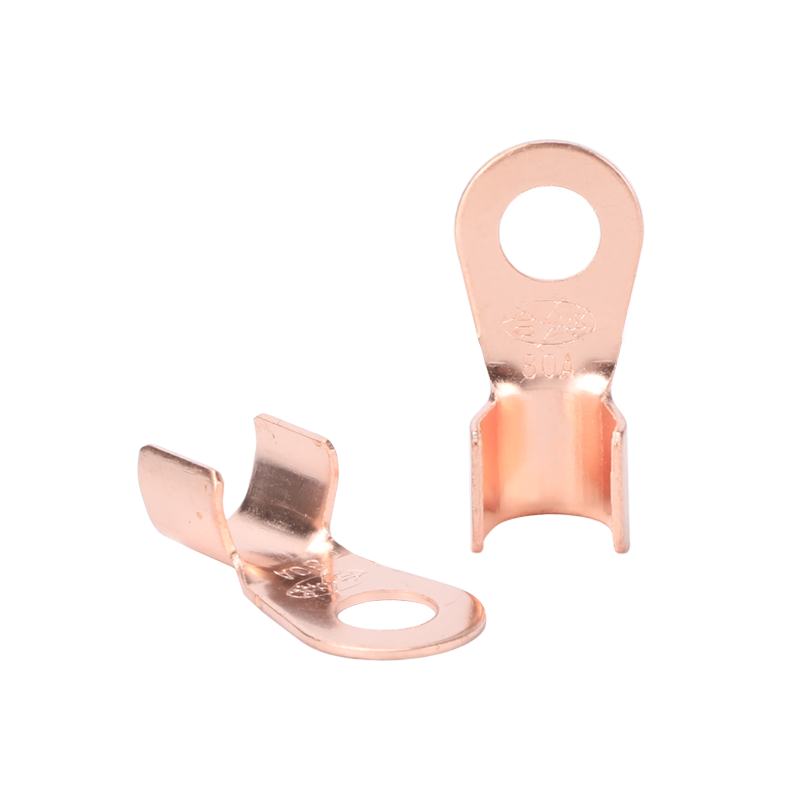
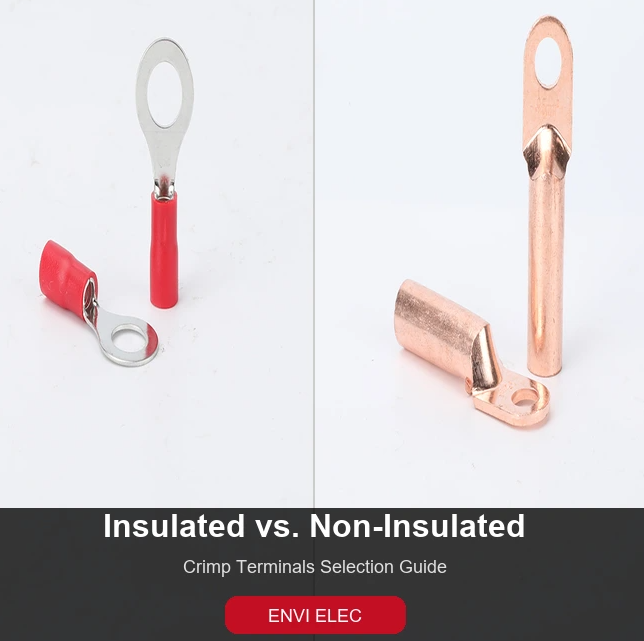
OT Copper Terminal Lug
When interpreting results, compare the lug’s temperature against similar connections under the same load. A temperature difference (ΔT) of more than 10°C from an identical, healthy connection is a sign that an investigation is needed. The table below provides a general guideline for prioritizing action based on the temperature delta relative to ambient air.
| Temperature Difference (ΔT) | Action Required |
|---|---|
| 1°C – 10°C | Monitor during next scheduled inspection. |
| 11°C – 35°C | Schedule a repair at the first available opportunity. |
| > 35°C | Requires immediate investigation and repair. |
Once a hotspot is identified, the next step is to find the root cause. The most common culprits are loose connections, corrosion, and poor installation practices.
Loose connections and improper torque are primary drivers of resistance and heat. Vibrations or thermal cycling can cause screws to back out, while over-tightening can deform the copper, leading to a “cold flow” that eventually loosens the connection. Always use a calibrated torque wrench and adhere strictly to the manufacturer’s specified torque values. For example, a copper terminal lug may require a significantly different torque than a tin-plated aluminum one.
Corrosion and oxidation create a resistive layer on the contact surfaces. When inspecting a suspect lug, look for discoloration or a dull film on the copper. The solution is to de-energize the circuit, clean the contact surfaces with a fine abrasive or specialized electrical cleaner, and apply an antioxidant compound to seal out moisture and oxygen. In high-moisture environments, using tin-plated copper terminal lugs can provide superior corrosion resistance.
A poor crimp at the wire barrel is another major source of heat generation. A loose or off-center crimp creates air gaps and increases electrical resistance. Always use the correct, manufacturer-recommended crimping tool and die for the lug size. The connection should be so tight that the wire is unable to move inside the barrel. Also, ensure the stripped conductor is inserted all the way to the bottom of the barrel before crimping.
A systematic approach is essential for a lasting fix, rather than a temporary patch.
After de-energizing the circuit, inspect the cable and lug for damage like melted insulation or cracking. Replace any damaged components. Then, follow these steps:
Overheating is almost always caused by increased electrical resistance. This resistance stems from loose connections, surface oxidation or corrosion, improper crimping, or simply overloading the lug beyond its current-carrying capacity.
While not as comprehensive, a visual inspection can reveal issues. Look for discoloration, a dull or blistered appearance on the lug, or melted wire insulation. For a more precise measurement, you can use a low-ohm tester to check the connection’s resistance; a good connection should have near-zero resistance.
The correct torque varies depending on the lug size and stud diameter. Always consult the manufacturer’s data sheet for the specific torque value. For example, a large copper lug might require up to 44.5 ft.-lbs. (60 Nm), while a different size or application will have a different specification. Using a calibrated torque wrench is non-negotiable.
Effective troubleshooting of heat generation in copper terminal lugs requires a methodical approach: accurate detection with thermography, identifying the root cause—whether it’s a loose connection, corrosion, or a poor crimp—and implementing a rigorous, torque-controlled repair process. By adopting these practices, you ensure system safety, prevent downtime, and extend the life of your equipment.
Ready to ensure your electrical connections are safe and reliable? ENVI ELEC offers a premium selection of high-quality copper terminal lugs designed for performance and longevity. Contact us today to find the perfect solution for your industrial wiring needs.

With extensive experience, excellent craftsmanship, and superior customer service, we meet various technical requirements to satisfy our customers and have gained widespread